
Valken Combat Guide: Tactics, Weapon Handling, and Survival
Valken combat guide tactics focus on methodical room clearing, utilizing wall cover, switching perspectives between first and third person, and preserving scarce ammunition across intense hospital corridors and hostile airport terminals.
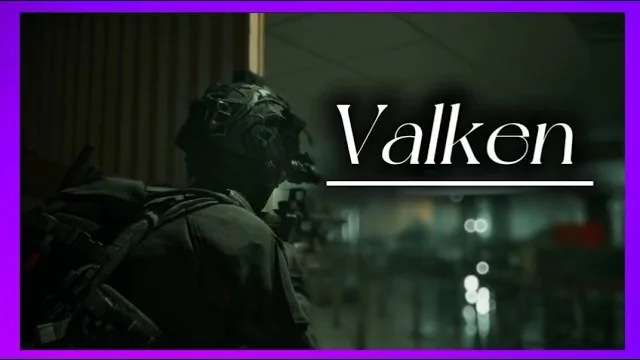
Valken combat guide tactics focus on methodical room clearing, utilizing wall cover, switching perspectives between first and third person, and preserving scarce ammunition across intense hospital corridors and hostile airport terminals.
Firearm Handling and Stance Mechanics
Survival in Valken requires direct familiarity with weapon controls and situational positioning. The game equips your operative with specific numbered inventory slots. Pressing 2 draws the suppressed handgun, 4 equips picked-up primary rifles such as the AKS-74U, 5 readies the combat knife, and 1 holsters active gear to clear your hands. Aiming with the pistol focuses the mounted weapon light directly downrange, narrowing the illuminated beam onto potential targets lurking in dark zones.
Recoil and shot placement dictate every firefight. Hostile forces and infected mutants drop rapidly from focused headshots, whereas body hits absorb scarce rounds and risk exposing your operative to return fire. Player health pools are unforgiving, leaving zero room for careless trades because incoming fire eliminates your operative in one or two clean hits. Glass panes found along airport partitions and hospital dividers do not block gunfire; bullets penetrate clean through windows, allowing you to strike unaware targets before entering contaminated rooms.
Cover Movement and Camera Perspectives
Positioning relies on combining physical geometry with sightline control. Pressing X locks your character directly against flat surfaces and wall corners. This stance breaks hostile sightlines, providing protection while observing patrol paths or waiting out charging infected. Peeking out from cover allows controlled single shots before stepping back behind structural barriers to reload.
| Combat Approach | Recommended Scenario | Mechanical Cost |
|---|---|---|
| First-Person Iron Sights | Long corridors and pinpoint headshots | Narrow peripheral awareness |
| Third-Person Cover Stance | Corner scouting and spatial tracking | Wider exposure profile |
| Suppressed Handgun Walk | Dark indoor stealth sweeps | Limited magazine capacity |
Pressing C shifts your viewpoint between first person or third person framing. Third-person view grants a broader spatial understanding of immediate corners and rear approaches, which prevents infected from sneaking behind your position. Shifting into first-person delivers exact weapon alignment for long-range engagements through airport departures. Walking via the Alt key further stabilizes aim and minimizes footstep noise, which supports silent infiltration taught in the stealth guide.
Ammunition Preservation and Reload Strategy
Supplies inside mission zones remain strictly limited. Handgun reserves start at roughly two spare magazines, and scavenging fallen enemies rewards primary rifles with limited loaded magazines. Pressing R initiates an active magazine swap. Tactical reloads before a magazine empties preserve the chambered round, but cycling magazines unnecessarily risks running dry during sudden mob rushes.
When clearing rooms during high-intensity zombie extraction operations, prioritize picking up discarded weapons from neutralized hostiles to expand your operational reserve. In close-quarters corridors where space runs out, keeping standard keybinds committed to muscle memory allows rapid swapping between rifles and sidearms without stalling in open fields of fire. Methodical clearing, deliberate semi-automatic firing, and steady fallback paths define effective mission completion throughout Valken.
Next step
Intelligence Gathering
Learn how to locate mission intelligence, slip past reactive patrols, and extract safely across the solo campaign.